After reading several methods for painting with a distressed finish I decided to try a few pieces using the Vaseline technique. Here is how I painted my pieces.
1.) Paint your base color. Let dry.
2.) Lightly put vaseline where you want the paint to be distressed.
3.) Paint your top color-painting right over the vaseline areas. Let dry completely.
4.) Lightly sand the areas where the vaseline is.
Here is what my finished products looked like...
Hello and welcome to Love with a Dash of Science! My name is Kelly and I love hosting parties, DIY and crafting (basically all things home). Our struggle with infertility is documented for those on a similar journey. I would love to hear from you!
Tuesday, March 18, 2014
Monday, March 17, 2014
Country Christmas
Christmas is one of my favorite times of the year. I love the music, smells..decorations...everything! While Christmas is behind us I was looking at some pictures on my phone and thought I would share a few!
What is a country Christmas without your tree in a galvanized tub?
I added the burlap-like ribbon to our tree this year <3
Antique Medicine Cabinet Redo
Hunted from my parents basement of 'extras' came this antique medicine cabinet. Unfortunately, I forgot to take a before picture. It was white, which cracks and peeling paint.
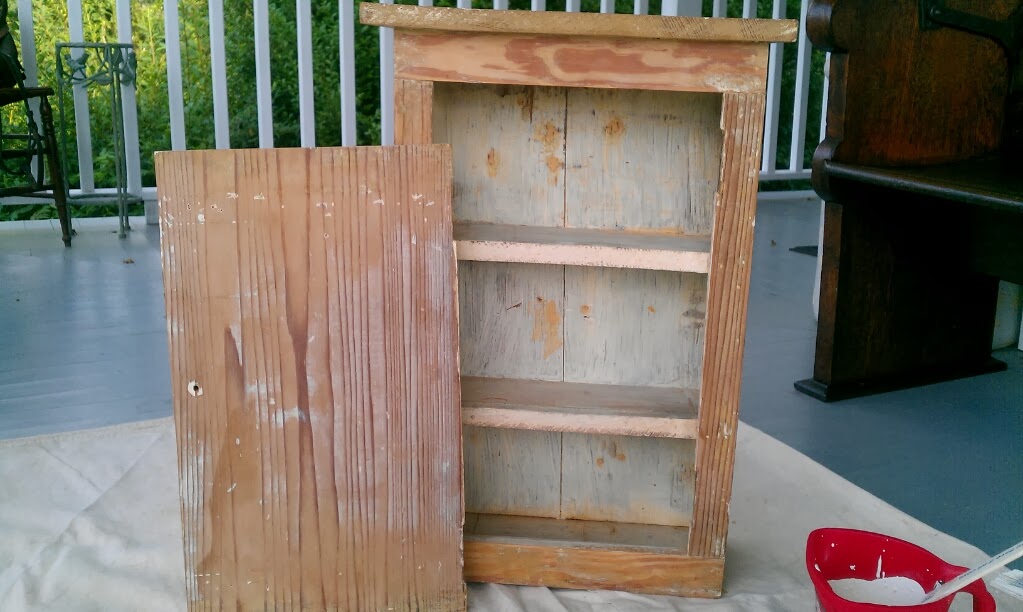
After a LOT of sanding and filling in some of the gaps this is what we had..
I made my own chalk paint using:
1C Flat Paint
1 Tbs Unsanded Grout
Mix well.
I put two coats of the chalk paint on and let it dry. Since it was a nice day outside, I only let it dry for a few hours ( I was ready to try the next step!). I used medium grit sandpaper and sanded through some areas. Be random~ take some down to the wood, other spots just ruff up the paint. The cabinet got a good wipe down and it was ready for the final step.
I put stain ( I prefer Minwax) over the entire surface. Let it sit for a few minutes and wipe off the excess. This allows the stain to cover the paint and seep into the parts where the wood is showing. It took several days for the finish to dry completely.
I used the same technique on an antique armoire for my Mom (below).
Thursday, March 13, 2014
Reupholster a Chair with a Dropcloth
It's all over Pinterest- How to Reupholster a char. For years this green chair sat on my grandparents enclosed porch, then it moved to my parents basement, then to our house. The chair is super comfortable and sturdy, but the fabric was awful. Fixable, right? Right! Using a painters drop cloth I reupholstered the char and I love the way it turned out!
Before:
I didn't go as far as to replace the horse hair and padding. I simply added new batting like material over the existing "cushion" and drop cloth over that. Always wash and dry your drop cloth before using it. I bought this particular drop cloth at Big Lots for around $15. It did have a seam, which poses a problem for some of my other projects, but since it was getting cut up into sections it worked great for the chair.
This chair had already been reupholstered before. My grandparents owned an apple orchard, so when I found this fabric under the ugly green fabric it really made my day. It appears to be someone in a basket picking apples.
The back of the chair has curves as you can see. I purchased a product called "Curve Ease" which made the upholstering a lot easier. I used this on the arms as well since they are half fabric half wood.
After:
Thanks for stopping by! I would love to hear your comments and feedback!
Wednesday, March 5, 2014
House Renovations
Our biggest DIY project...
When we purchased our house in 2008 it was a dump! The house had been vacant for 15 years and needed to be completely renovated. Thankfully, I come from a family of carpenters. Here are the links to some of the before and after shots of our house if you want to know how we went from this

to this
I am forever changing our furniture and decor. Be sure to check back often to see more DIY projects!
~ Kelly
Subscribe to:
Posts (Atom)


